Note: Content edited and updated in May 2025.
So you’ve moved – or want to move – to Colombia to be a digital nomad, and you have beneficiaries (i.e., a spouse/partner and/or kids). You’ve heard it’s pretty easy to get a digital nomad visa (which is true). But oops, no one mentioned to you, and you didn’t read anything on the internet about the complexity of beneficiary visas. If you’re in Colombia and trying to figure that out, or if you’re planning to move and want to be appropriately prepared, you have (hopefully) come to the right place.
Our family of 5 moved to Medellín, Colombia in July 2023. We worked to obtain a digital nomad visa for my spouse and add the rest of us (wife + 3 daughters) as beneficiaries across late 2023. I’ll be honest, it was a total pain. But. We did it. And I have lived to share the story.
We did it again in early 2025, and it was much easier the second time around, knowing how everything worked, having better Spanish, and understanding the timing and steps!
I’m writing this from the perspective of applying as US citizens. And with a titular/primary visa holder who works a salaried job for a US company. There are variations for people applying from other countries and/or as freelancers. Further, I’m not writing about the steps for applying for the titular digital nomad (DN) visa. That is readily available on many other blogs and lawyerly websites with a quick Google search. What I found lacking when we went through the process was clear (and free) information about the beneficiary DN process. So here we are.
If you’re going through the process and realize I’ve missed an important detail, or something has changed (since that often happens!), please let me know in the comments. I try to update this post with new info. But I hope this gives you a good starting point on your journey. I’d love to hear your beneficiary visa success stories – and any foibles and pitfalls along the way!
Digital Nomad Beneficiary Visa Process
General Information
You apply for beneficiaries after you’ve applied and been accepted for the primary/main (titular) digital nomad. You need to put the titular visa holder’s visa number into the beneficiary application.
Each beneficiary is a separate application and individual approval process. So if you have a partner and 3 kids, that’s 4 beneficiary applications. It is, unfortunately, not guaranteed that they will accept all beneficiaries. But, the good news is, usually they accept everyone, on the same timeframe!
Each application has a visa application fee, visa fee, and (if 7+ years old) cedula fee.
More on costs below.
Required Documents
The migration website doesn’t give you any information about what documents you need to submit for beneficiaries until you get to the very last page of the online application portal. But you have to complete the application in one go and cannot save progress and return later. It’s really frustrating if you get to the end and aren’t aware of what you need.
So here’s your list of what you need to gather for the beneficiary visa application, with some explainers:
- Photo of applicant’s passport photo page
- The passport must be valid for 6 months from the time of application.
- As of early 2025, they also seem to be requiring it to be a scan of the document, not a photo.
- Photo of most recent entry stamp into Colombia
- If you’re applying from outside Colombia, you have to provide a document that proves legal stay where you are.
- If you are in Colombia and have started here under a Tourist Visa, but the process of applying for your beneficiary visas will (or might) take you beyond your first 90 days, you need to show proof you’ve received the extra 90 day extension. See below for how to do the tourist visa extension and potential timeframes.
- Photo of the visa applicant
- The specifications are that it is 3cm x 4cm, on a white background, no accessories (e.g., no hats, no glasses), no shadows, etc. You can do this at home or find a place that does visa photos.
- Most recent SIX months of bank statements
- Note that this is different than the primary visa application, which requests 3 months of statements. This is to prove you have sufficient income to cover your dependents life here.
- Document validating applicant’s relationship to the primary/titular visa holder
- For a spouse this is a marriage certificate, for a child this is a birth certificate. The language in the application indicates these need to be recently issued copies (within 90 days of the application).
- We did not know about this newly-issued-within-90-days clause our first time. We came to Colombia with original documents, and had a bit of a scramble to get this figured out!
- Apostille of the document submitted in #5
- This apostille also needs to be issued within 90 days of applying. See below for what the heck an Apostille is.
- Spanish translation of the document AND apostille
- This must be done by a certified translator in Colombia.
- A letter from the titular visa holder assuming responsibility for their beneficiaries
- In 2023, my husband wrote a signed and dated letter in Spanish based on one a friend sent us. In it, he wrote his name, passport number, and DN visa number, and stated he was applying for a beneficiary visa for me and our kids (including our passport numbers). Then he explicitly expressed that he would assume responsibility for all our economic needs and payment of our health insurance while in Colombia.
- In 2025 when we submitted this same document, migration responded to the applications asking for the letter to be signed by BOTH parents, and notarized. So we went and did that. I do not know how common this is, but something to consider doing in your initial submission.
- Health insurance certificate
- They do not ask for it, but you should upload it, because they will most likely ask for it.
- Potentially: FBI Background check with apostille
- As of mid to late 2024, migration began asking for a Federal background check, with apostille, for primary DN visas holders. As of our second application in early 2025, this appears to be a standard requirement, though it is not stated anywhere. But as of May 2025, it is not clear how often they are asking for the background check for an adult beneficiary (in our case they did not, though we had it ready). See below for a subsection with more info on this.
- As of mid to late 2024, migration began asking for a Federal background check, with apostille, for primary DN visas holders. As of our second application in early 2025, this appears to be a standard requirement, though it is not stated anywhere. But as of May 2025, it is not clear how often they are asking for the background check for an adult beneficiary (in our case they did not, though we had it ready). See below for a subsection with more info on this.
The really tricky part, in my opinion, is that the total size of all these attachments cannot exceed 5MBs. So you need to get real comfortable condensing and shrinking PDFs to make sure they’re not too large!
But those are all the documents that you will need to apply for a beneficiary visa in Colombia.
Deeper Dive: Birth and Marriage Certificate Steps
If you – like me prior to doing this visa – have never had to get a new certificate issued, have that apostilled, and then translated… Iet me walk you through what that looks like.
Acquiring Documents
You obtain copies of birth and marriage certificates from the corresponding State’s Vital Records. This is the State where the birth/marriage happened. A quick google will get you to the relevant state’s Vital Records website. This lays out the process, cost for ordering, and timeline to receive. Every state is different. But since these are the ones I did, here are PA, VA, and DC.
For many States you can use VitalChek to simplify, streamline, and sometimes expedite the process. Of course for a bit higher cost. We did that for VA and DC, but it was not an option for our marriage certificate from PA. But for instance, at the time of our application, VA’s vital records website stated that their standard processing time to obtain a birth certificate was 8 weeks. But that if you used VitalCheck it would be 2-5 days. Kind of a no brainer in that case to use VitalChek!
One snafu we ran into with one State’s requirements on VitalChek was that the billing address of the credit card had to be the same as the mailing address to which you’re sending the certificate. We were sending our documents to a friend in the US, and that was not the same place as the billing address for our credit card. So we could not complete the transaction. In 2023 we remedied this by using that friend’s credit card to pay, and in 2025 we briefly changed our billing address to the receiving friend’s address. .
That might not be your State or situation, but I mention it mostly to highlight that there are LOTS of quirks along the way. See also: the County in which we were married in PA requires a paper application mailed in or hand delivered to get a new marriage license. Yes, in 2023 (and 2025).
It takes a ton of patience and perseverance to do this.
Apostilling Documents
Once you have the birth and/or marriage certificates, then you need to get them Apostilled. This is NOT the same as Notarizing a document, though it is a similar idea. The short story is that members of the 1961 Hague Convention made a process whereby countries can verify that official documents from other countries are in fact legit. For instance, Colombia verifying that my US marriage certificate is genuine. These are apostilles. Apostilles are (generally) issued by each State’s Secretary of State. More info here and here.
The general idea is as follows: You send in the document by mail (or you can go in person to the office), with a cover letter, a check for the apostille fee, and a self-addressed/postage prepaid envelope to return the documents.
Here again, every State has their own website and own specifications, but that is the general pattern. But for example, here is the information page for PA, which explains everything, and also links to their Cover Letter. And here’s a helpful summary page of the DC/MD/VA (DMV) metro area.
When I did these for our family, they were $10-15 per apostille and took 1-2 weeks to send and receive them back. In both 2023 and 2025 we used USPS to send and receive documents with no problems, but all the states also had the option of a FedEx pick up.
Translating Documents
Once you have both the certificate and the apostille (which should be physically stapled to the certificate- do not separate them!), it’s time to get those two documents translated. You must do this with a certified translator in Colombia. Ask on WhatsApp or Facebook groups for recommendations in the city where you live. We live in Medellín and after getting a few quotes, used this company. They were responsive and pretty fast. Other companies were far more expensive, and this one was downright rude in their responses to me, so I wouldn’t recommend them.
This is a pretty straightforward step. I emailed my documents to the company, got a quote, and received the documents back with translations within a week.
And thus completes the steps for your birth and/or marriage certificates.
Sidebar: Federal Background Checks
This does not fit nicely anywhere, but I am adding it as of May 2025. As stated in the document summary above, a recently issued (within 90 days) apostilled Federal (FBI) Background check is now a standard – though unwritten – requirement for primary visa holders. It is not clear whether or how often this is required for adult beneficiary visas. But given the confusion around this, I thought I’d add a section. If you’re already doing this for a primary visa holder, it’s worth doing for an adult beneficiary, because it can be expensive and time consuming to rush. In our case, migration did not ask for mine (beneficiary), but as with everyone else we know, they did as for my husband’s (titular).
Here’s how to do it on your own.
- Register to do your background check here. It costs $18 per person.
- After registering, you will receive an email with a PIN, with which you can check the status of your request.
- When you register, you can choose how you want to do your fingerprinting, either by electing to do it at a USPS site, or on your own.
- Because it’s so much cheaper, we planned to do this during a trip in the US, so we chose USPS. You then register with USPS here with your FBI confirmation number. This generated a bar code that we showed at the USPS location we went to.
- On that USPS page you can check by zip code for USPS locations that do the fingerprinting. Not many USPS sites do it! Once you confirm a location, call or check in advance if you need an appt, or can just walk in.
- Fingerprinting at USPS costs $50 per person.
- You can do also do fingerprinting yourself (though I hear it’s more difficult to get right), and there are services in Medellin and other places that offer fingerprinting for a fee (often hundreds of dollars).
- We received our FBI report within minutes of submitting the fingerprints.
- Once you have the electronic version of the background check, follow the steps here to submit for a Federal apostille (i.e., done at the Federal State Department). Similar to other the process for birth and marriage certificates, this requires the original document (printed), an application form, a $20 check, and return envelope/postage. We received ours back after 5 weeks.
- The background check and apostille also need to be translated into Spanish.
Timeline to Completion
In brief: In 2023, our timeline from submission of the primary (titular) application until we all were approved was about 4 months. It took a long time to then get our visa registration appointments and my cédula. So it was about 5 months in total.
In 2025, our timeline from submission of the primary application until we were all approved was only about 2 months, because we knew how to parallel process various steps, and had all beneficiary documents ready to go.
Let me tell you what, we definitely gave a big cheers after that!
In more detail: Each step of the process has a ton of variability, which will lengthen or shorten the timeline for any given applicant. But you should try to parallel process acquiring documents for your beneficiary visas (if you need to do that) while you apply for the titular visa holder.
Here’s how it went for us the first time in 2023, with updates in italics for how that changed the second time in 2025:
We submitted for the titular application (my husband) and heard back 10 days later with a request to (re)submit some documents. We resubmitted the info ~3 days later. They approved him a week after that. So just about a month from application to acceptance. However, keep in mind Migración has up to 30 days to review your application.
The problem (at least in Medellín and Bogotá) is that it’s hard to get an appointment to register your visa at Migración once you’re approved. The acceptance email says you have 15 days to register your visa, but appointments are hard to come by. You will not be penalized for registering outside this window- it’s almost impossible to do that fast. As of 2025, new appointments are opened up on Sundays at 5pm, but they still seem to go very quickly, almost as if someone has programmed something to scoop them all. Because of this (even though appointments are free), many people choose to pay a service to acquire the visa registration appointments (for a fee) rather than fight with the website for weeks on end.
While my husband submitted his visa application, I gathered the documents for the beneficiaries. It was still slower than I would have hoped — a little over a month to order and receive certificates, mail them out to be apostilled, and receive them back with apostilles. But we had everything together for the beneficiaries to apply about 3-4 weeks after his application was approved. In the case of the beneficiary visas, we didn’t hear anything until almost the 30 day deadline. We also had to (re)submit some documents for each of those applications. We heard back with approvals several weeks later. So, probably on the slower end that round.
Update: In 2025, it was 4-6 weeks (varied by state) to order and receive the birth/marriage certificates and then have them apostilled. This time I started the process a few weeks before my husband submitted his visa application. We only used USPS, nothing rushed or expedited.
We also heard back from migration on beneficiary visas with requests for ‘missing’ things within days of submission (vs nearly 30 days). Even having to get our letter notarized, we were approved well under the 30 day deadline.
In 2023, one of our daughter’s applications got seemingly trapped in a death spiral, where we were asked to resubmit documents, but we could not access her application. In the end, we totally resubmitted a new application, and then quickly had an acceptance.
Update: nothing like that happened to any of us when we applied in 2025. Again, tons of variance.
Just a quick snapshot into the back and forth.
Tourist Visa Extension
This is a small side bar to explain how to explain for a tourist visa extension if your digital nomad visa process will take you past your first 90 days.
As a US citizen you can stay in Colombia for 90 days in a calendar year, and then apply to extend an additional 90 days. As a starting point, you can read the Colombian government’s info on it here, and a blog with some helpful details here.
You can do it as early as you want if you know you’ll need more than 90 days. Don’t wait until the last minute, definitely start at least 2 weeks before your time is up just to be safe.
Use this website to fill out the form (i.e., you don’t have to go in person to do so).
Wait times for approval from the Medellín office can be really long (weeks!), so choose a different city for your review (e.g., Pereira).
The form is really unclear what documents you need to submit. But based on talking to other people and reading blogs we submitted the following: main passport photo page, photo of last entry stamp, and a flight leaving the country before our next 90 days would finish. We booked a refundable flight, downloaded the itinerary, and then canceled the flight. For our kids, we also added their birth certificate and both parents’ passport photo pages for good measure. You can upload only one file, in PDF format, and it has to be less than 1MB.
We chose the Pereira office in the form. The very next morning I received an email asking us to upload the files that I had already uploaded. So I did it again, and they approved all our tourist visa extensions within 2 hours.
Costs to Anticipate
I had no insight into all the costs involved until another DN expat graciously shared her spreadsheet with me. Here’s a rundown so you can be more prepared. I’m giving these in USD rounded to the nearest whole number. This is what we paid in 2023 when conversion rates were about 3.800:1 COP:USD, and it was about the same (with small variance) in 2025.
These are per person.
Visa application fee: $56
Visa fee: $185
Cédula: $61
This is for anyone who is 7+ years old.
Marriage and/or birth certificates: Hugely variable, but plan on at least $50.
For us, our PA marriage certificate was $3. Our birth certificates obtained through VitalChek were more expensive, and you can only order from one State per order (i.e., you then have processing and shipping fees for each). For us it was $59 for our DC birth certificate and $73 for two VA birth certificates.
Apostilles: $10-15.
PA and DC were $15 each, and VA was $10 for the first and $5 for each additional.
Postage: variable.
We did almost everything via USPS, sending forms to a relative in the US, and having her send them back out to be apostilled. So we only spent about $8. But if you need to do FedEx or UPS due to a time crunch, it will cost more.
Translations: $24+.
The company we used charged 48.000COP (about $12) per page, which is the lowest I found. Others were $15-20 per page. Rates are higher in 2025. Most documents will have (at least) 2 pages- the document itself, plus the apostille. All 4 of ours had 2 pages each, so this was $96 for us.
Visa photo: ??
We did these ourselves at home, but if you used a service, you would have some cost associated with this step.
I will say this again: these are the fees per person, so be sure to multiply that by the number of people for whom you’re applying. The standard visa fees are the same as for the titular visa holder.
For our family of 5 we spent a total of $1,732 to obtain all of our digital nomad visas in 2023 and about the same in 2025 (cutting out visa extensions but adding Background checks).
This does not include all the Ubers going back and forth to the Migración office half a dozen times! 😉
Is it Worth It?
For us, it was (and is!) worth it in order to have a cédula (local ID number and card). If you really want to LIVE in Colombia, you run into plenty of things (e.g., opening a bank account) for which you need a cédula. And with many other things, such as correctly/properly hiring employees (e.g., nanny, housekeeper), sending kids to school, renting apartments, it’s much easier if you have a cédula.
But if you’re sure you only want to be in Colombia for a year or less, and it works for your situation, I would not necessarily recommend doing all the work required for DN visas. Instead, come in July, get your six months of tourist visa stay in that year. Then leave the country and re-enter in the new year, and get six more months as tourists! We know plenty of people who do this, and it works for them! There are also plenty of lawyers and other services in Colombia who will do some of the DN application legwork for you, for a couple hundred USD. This is also a totally valid route! And I think especially a good choice if your Spanish is more limited.
But if you want to do a digital nomad visa and have beneficiaries, I hope I’ve provided you with the vast majority of information you will need to navigate that process with confidence!
Please share in the comments if I’ve missed anything.
I’d also love to hear your stories of applying for digital nomad visa beneficiaries!
Happy nomading!
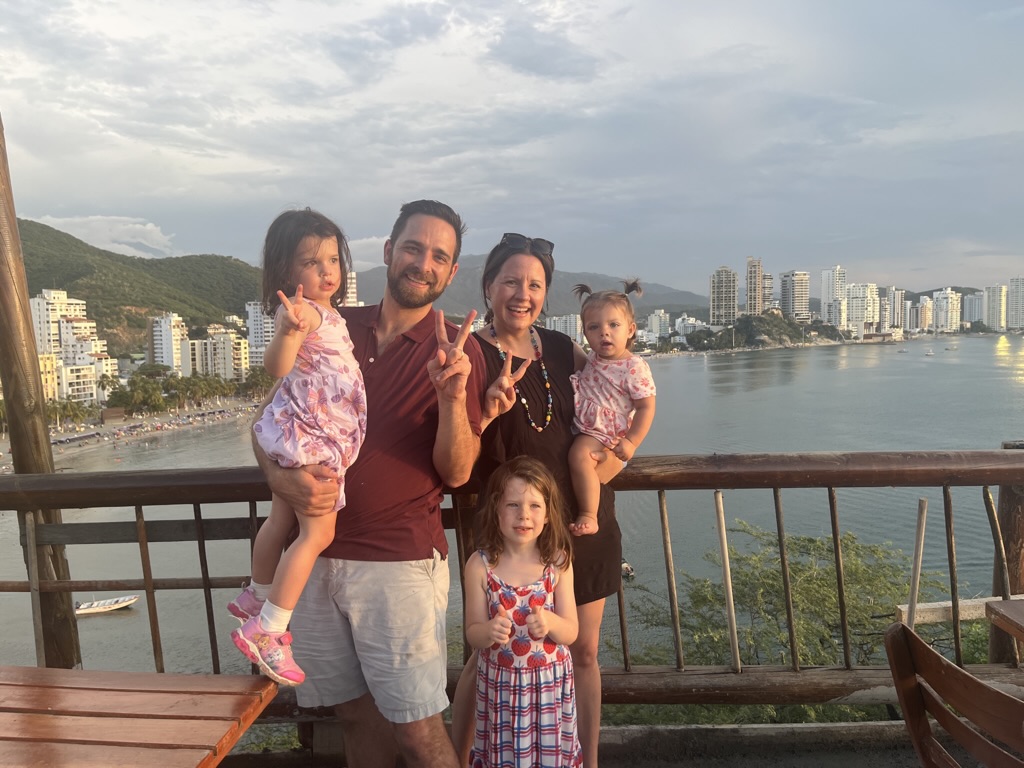
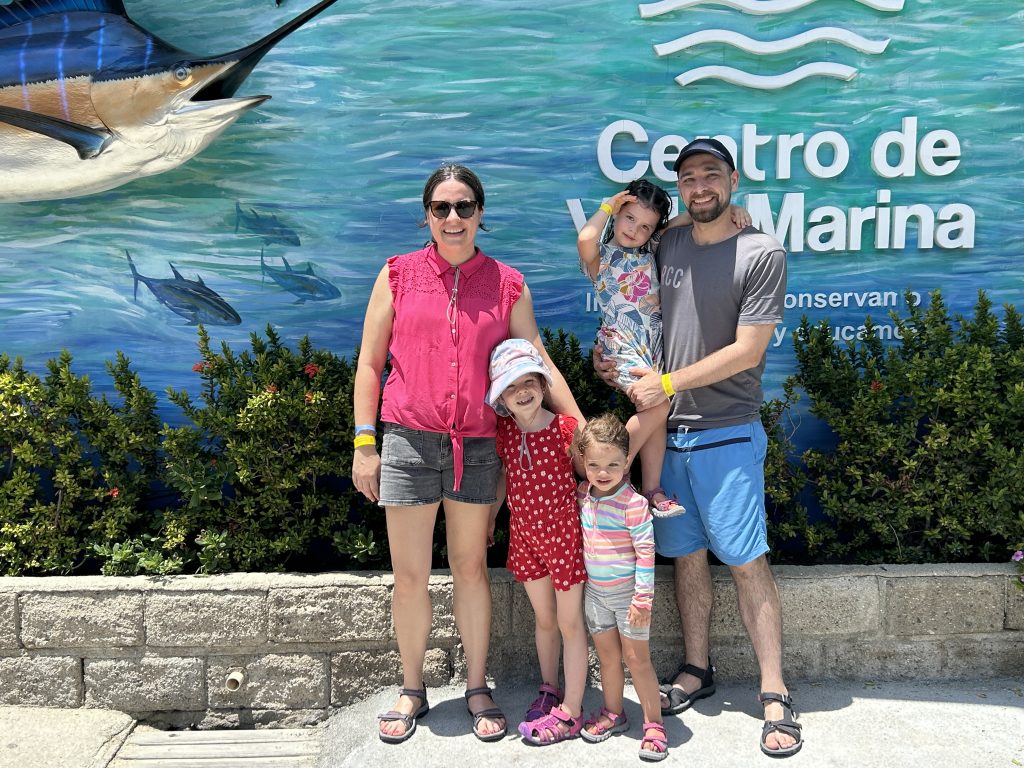
Our family in 2023 visiting Santa Marta about 4 months after we arrived to Medellin (above) and in 2025 (also Santa Marta) almost two years into our digital nomad journey (below).
This article was extremely helpful, thanks! 🙂
You’re welcome!!
Hi Liz,
Thanks for sharing this helpful guide to the nomad community in Colombia!
I’d love to know – what Apostille service did you use for your documents? $10-15 is super cheap compared to other services I’m seeing out there ($150-200 per doc!)
I appreciate the help!
Thanks,
Daniel
You’re welcome! Glad it was/is helpful to you! We did not use a service for our Apostille service, we mailed the original documents directly to the State Dept of State with the required documentation (we had a family member in the US receive the documents and sent them instructions about what to send out). So the apostilles themselves aren’t expensive, but sounds like maybe a service to do the courier-ing is?
Here’s a translation directly from the submission page of what you’ll need. 5 PDFs.
So you have to merge a few things together like the birth cert and the apostille
And #5 I merged the passport, stamp and insurance info
—
1. **Copy of the valid visa of the primary holder from which the beneficiary seeks to derive benefits**
2. **Copy of the civil certificate or birth certificate that certifies the relationship, marital or family bond with the primary holder, with the necessary formalities for foreign documents**
3. **Written communication from the primary holder requesting the beneficiary visa and declaring the dependency and financial responsibility for the costs associated with the beneficiary’s travel and/or stay in the national territory, including health coverage services**
4. **The primary holder must demonstrate through averages in bank statements from the last 6 months or a work certification that they have sufficient income to take on financial responsibility for their beneficiaries**
5. **Copy of the main page of the applicant’s passport and the last stamp of entry into the country**
Thank you!!
Hello! This helped us so much when we were doing our visa process, both for the details and the expectation setting 🙂
I just want to add a note to anyone reading this in 2025 that since about Summer 2024, it seems to have become pretty much standard (but somehow still not official) that Migración requests adults (for the primary or beneficiary visa) include an FBI background check that is apostilled (currently must be a State Dept apostille, not the notary+state apostille shortcut that worked for a while) and translated.
If you are still in the US and can get fingerprints done before you leave (e.g. at the post office), I’d *highly* recommend getting that process started before you leave, because doing it from Medellín is much slower, and also much, much more expensive ($300+ all told).
(NB The background check document also needs to be recently issued, within 90 days of the visa application.)
Thank you! Yes, this is on my list of things to update in the blog, thanks for sharing it here in the comments, and I hope to get it included in the blog content soon!